
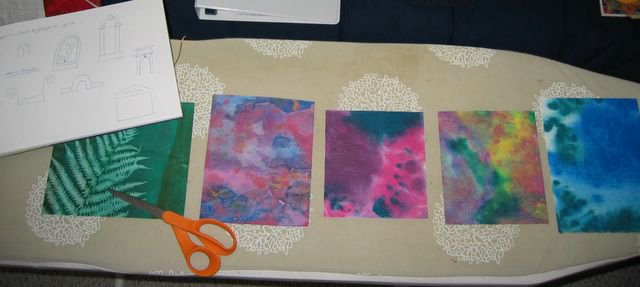
First I choose fabrics and lay them all out on my ironing board. You can also see my sketches of shrine, arch and house shapes. I'm keeping in mind that all of these pieces will be framed in 8 x 10 frames. I use this same system for my postcards and fit as many onto the ironing board as comfortable.
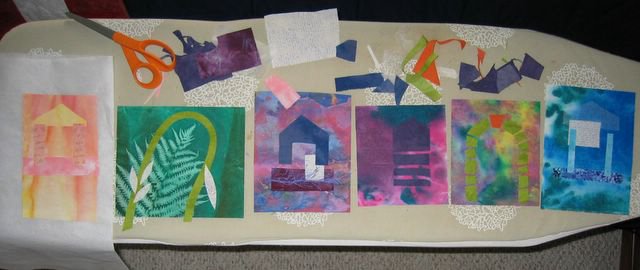
Then I begin to fuse the major shapes. You can see I added another background. I found a piece of prefused fabric and it wanted to join the party. That's why it's sitting on release paper. The other backgrounds are not fused. (Though they could be if I wasn't stingy with WU or lazy.)
After all the shapes are fused, I get started picking out embellishments. This is where the assembly line is particularly efficient. If I had to get out my ribbon and trim box, dig through it for one piece, then put it away, then get out my charms box, dig through it, then put it away... then the button box, the stamp box, the bead box, the "other interesting fibers" box etc... I'd lose interest and the studio would be a mess.
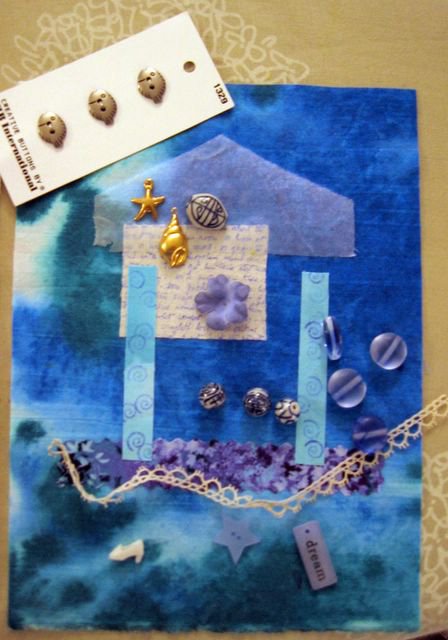
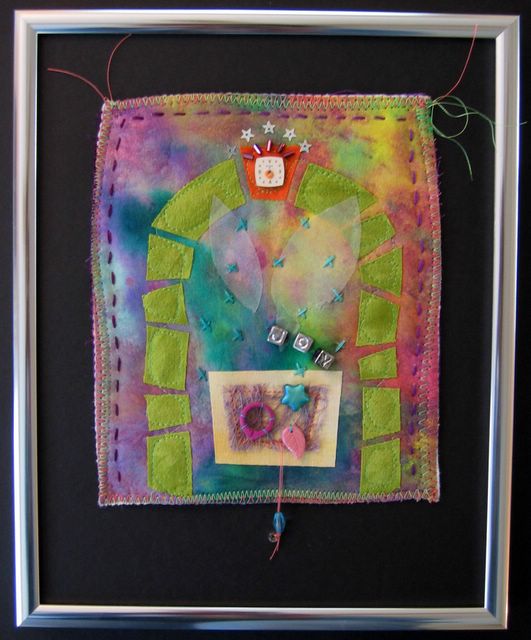
Here's a picture of one of the shrines with the potential embellishments. Now each set of embellishments gets put in a little zip loc bag with the background fabric. (If you look back at the
finished shrines you see I did not use the silver fish, the gold starfish, the white Barbie shoe or several of the beads... oh well, they just get restocked in their appropriate boxes.)
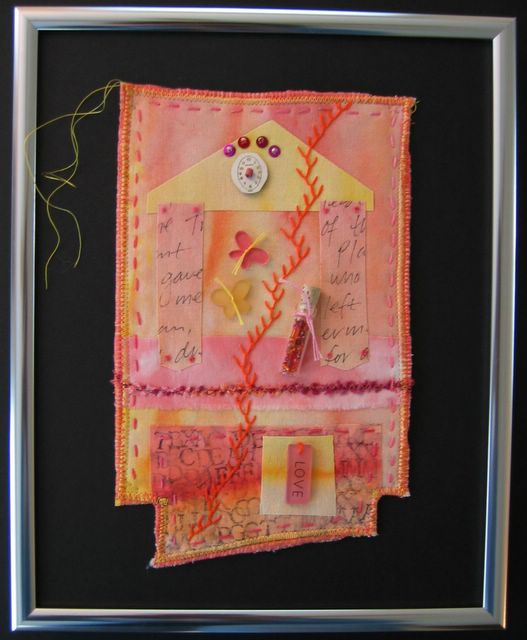
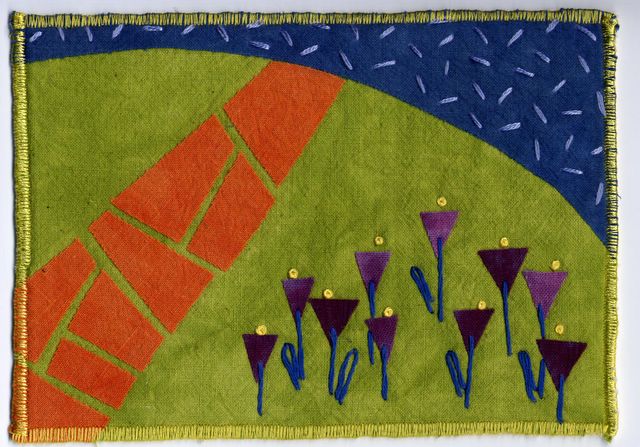
The assembly line stops here pretty much. Now I work on each item individually by free motion quilting if needed, hand embroidery, sewing (and gluing) on embellishments, sandwiching and finishing.
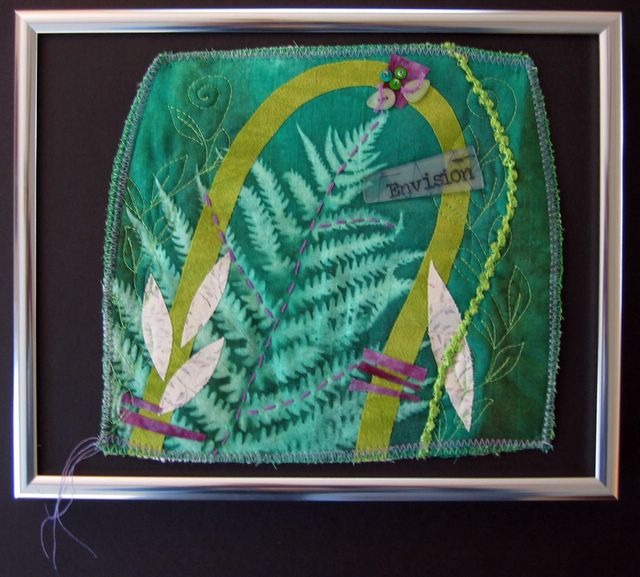
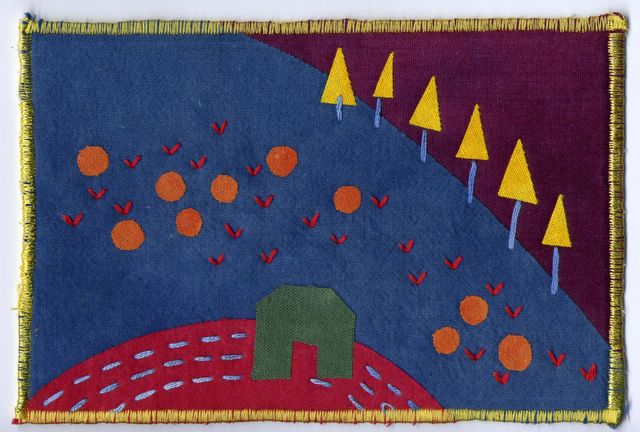
Oh, you may also notice that the green/purple/pink background piece never got finished. It was missing something and I lost interest a bit and I needed to get the ones that were done all framed and ready to go.. Oh well, go with the flow.


